Art is a fundamental element of childhood. It helps children learn to understand and express themselves while exploring their world. The 1st grade is the perfect opportunity to explore different art forms and introduce students to formal art education. Learning how to use different materials can help students with problem-solving skills, cognitive development, mathematical understanding, and social development skills.
The following art projects are suited for 1st-grade students. Each art project is designed to help students understand the concept of symmetry and reinforce similar patterns with pictures. The students’ experimentation with different materials help them learn about physics, geometry, and the relationship between form and color.
Students can use the pictures from different symmetry groups to create an artwork that is symmetrical or asymmetrical. The best way for students to express themselves through art is to create their own works.
Contents
Top 35 1st Grade Art Projects
1. Hang 3-D Line Sculptures
These projects are simple to set up and can be a fun way to introduce the kids to 3-D art. They can be turned into eye-catching, hanging mobiles or traded between classes. Materials needed: Paper, string, scissors, glue and one 3-D object per student.
Instructions: Cut out a shape from paper and glue it to the end of a length of string. Hang them on the wall for an interesting effect.

2. Create a Shadow Box
A shadow box is an attractively framed display that includes opening windows for viewing objects from every angle, often on both sides of the frame. They’re also an excellent activity for developing fine motor skills because children have to hold and manipulate three-dimensional objects in order to complete this craft project.
3. Sketch Balloon Dogs
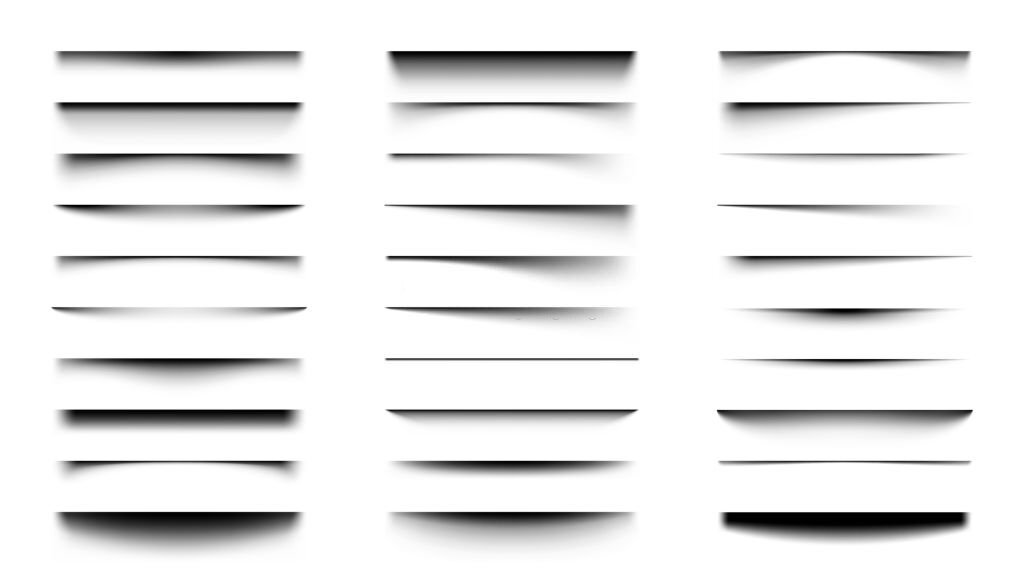
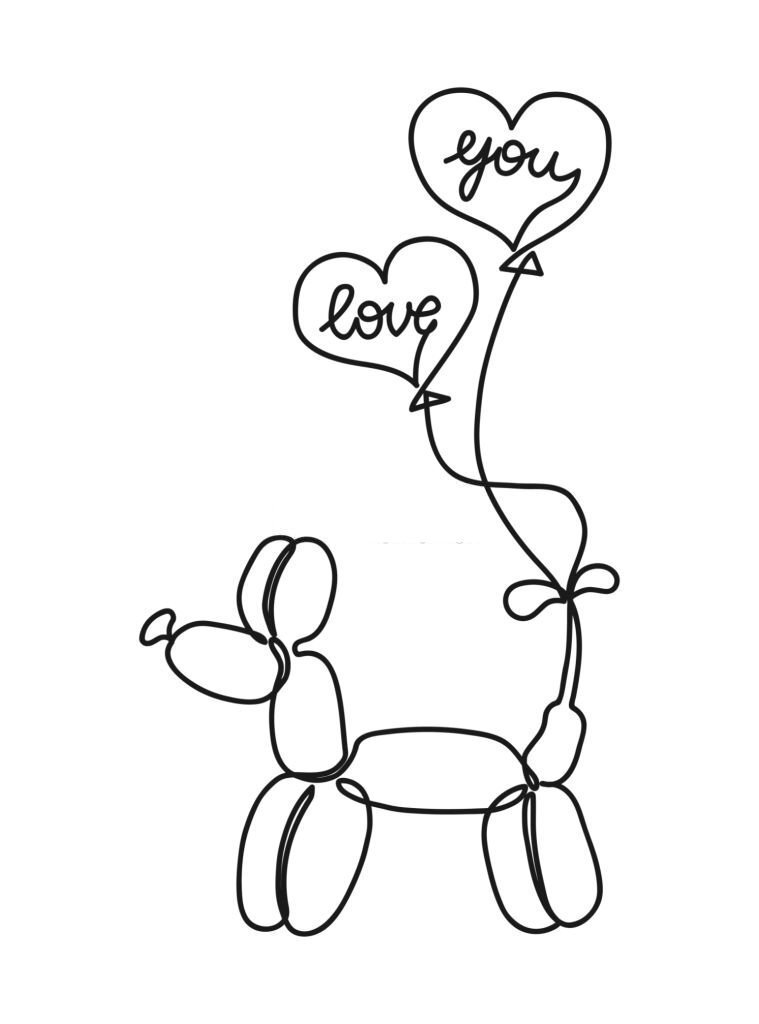
Drawing a pair of balloon dogs is a great way to teach kids about shading techniques. Start by drawing a larger oval for the balloon, then tape or glue a smaller oval inside it for the head and neck. Draw in the bottom of the dog with shading.
4. Go Wild for Self – Portraits
When it comes to self-portraits, you have a wide variety of coloring mediums and materials at your disposal. It is important to brush up on the different colors so that you can make a strong color composition for your self-portrait.
5. Point out Perspective with Andrew Wyeth Farms
Draw a picture of a farm. When they are done, ask them what direction their house is from the barn and which way the sun is shining. Then, have them flip their paper over so that it faces as if they’re looking at it from behind the barn. This will give them an idea of perspective.
6. Fly Cotton – Skywriting Planes
Get together some cotton balls and a couple of toothpicks. You can write letters or shapes on the cotton balls with a permanent marker. On the top of the toothpick put something that represents an airplane. Then, have the children fly their airplanes through the air and see just how far they can get them to go.
7. Take Inspiration from a Calder Sculpture
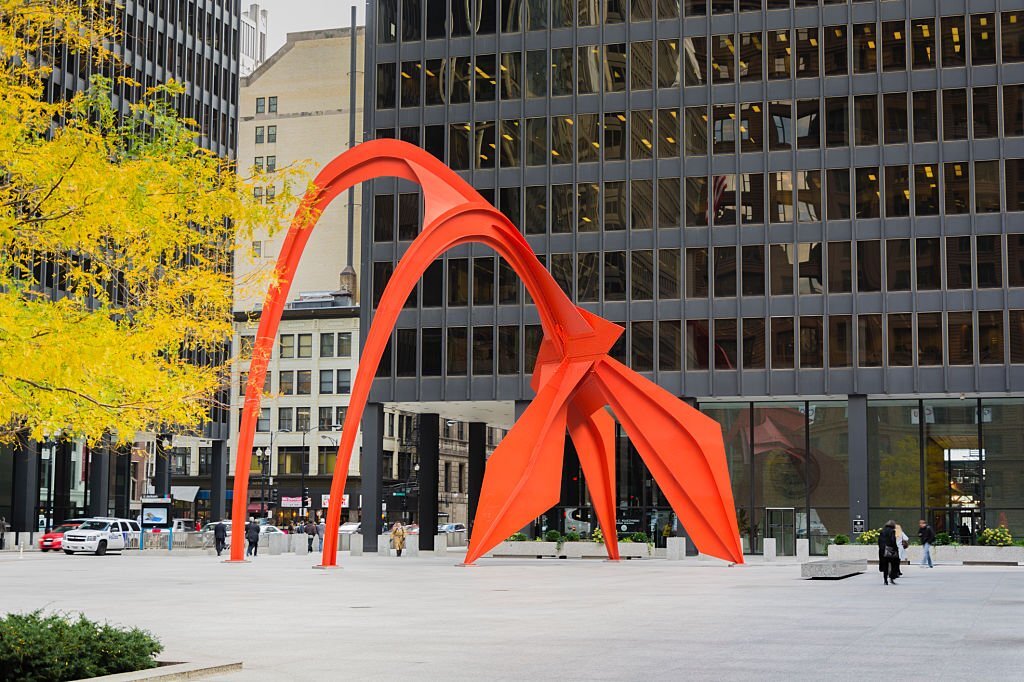
Get your kids to make an art project based on one of Calder’s signature “colorforms”. Most museums have examples of these forms. Places like the Smithsonian and New York’s Museum of Modern Art have entire galleries devoted to his work. If you can’t identify one at a museum, search online for photos or illustrations that demonstrate his unique style.
8. Cut out Cute Cardinals
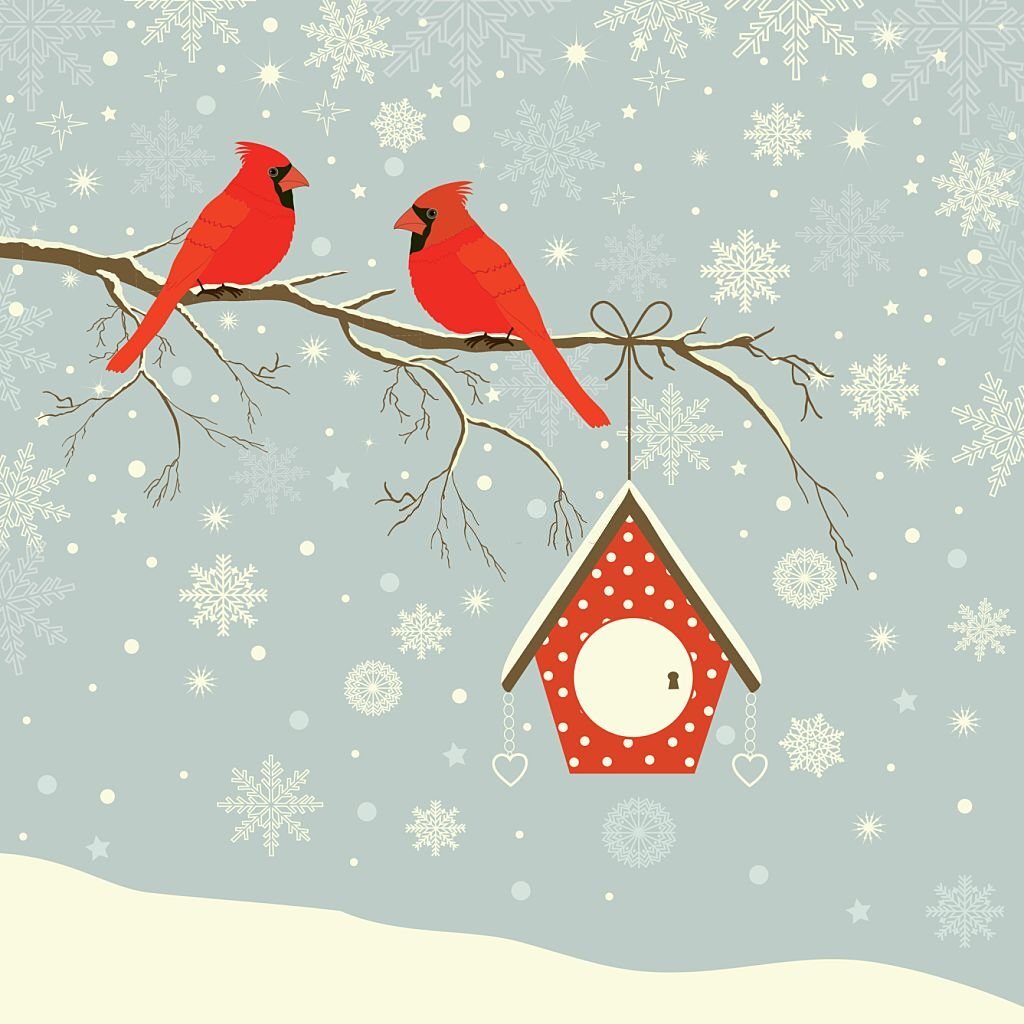
Cut out four cardinals with wings. Because they have just a single wing, they can’t fly, but they are still pretty cute when they are stuck in flight! This project is a lot of fun and the kids can add their own feathers.
9. Print and Color Autumn Leaves
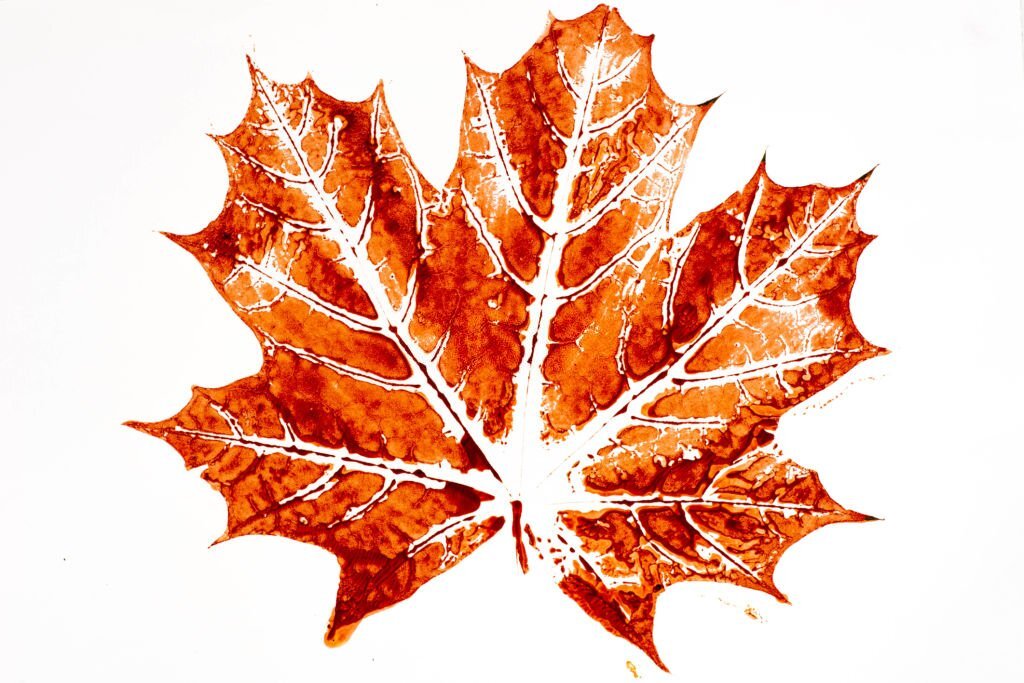
If you have a printer, grab some autumn leaves and print them out. When they are done, have the kids color them. Then, have them glue the leaves on to an apple, tree or another object to make a collaborative art project.
10. Arrange an Abstract Alphabet
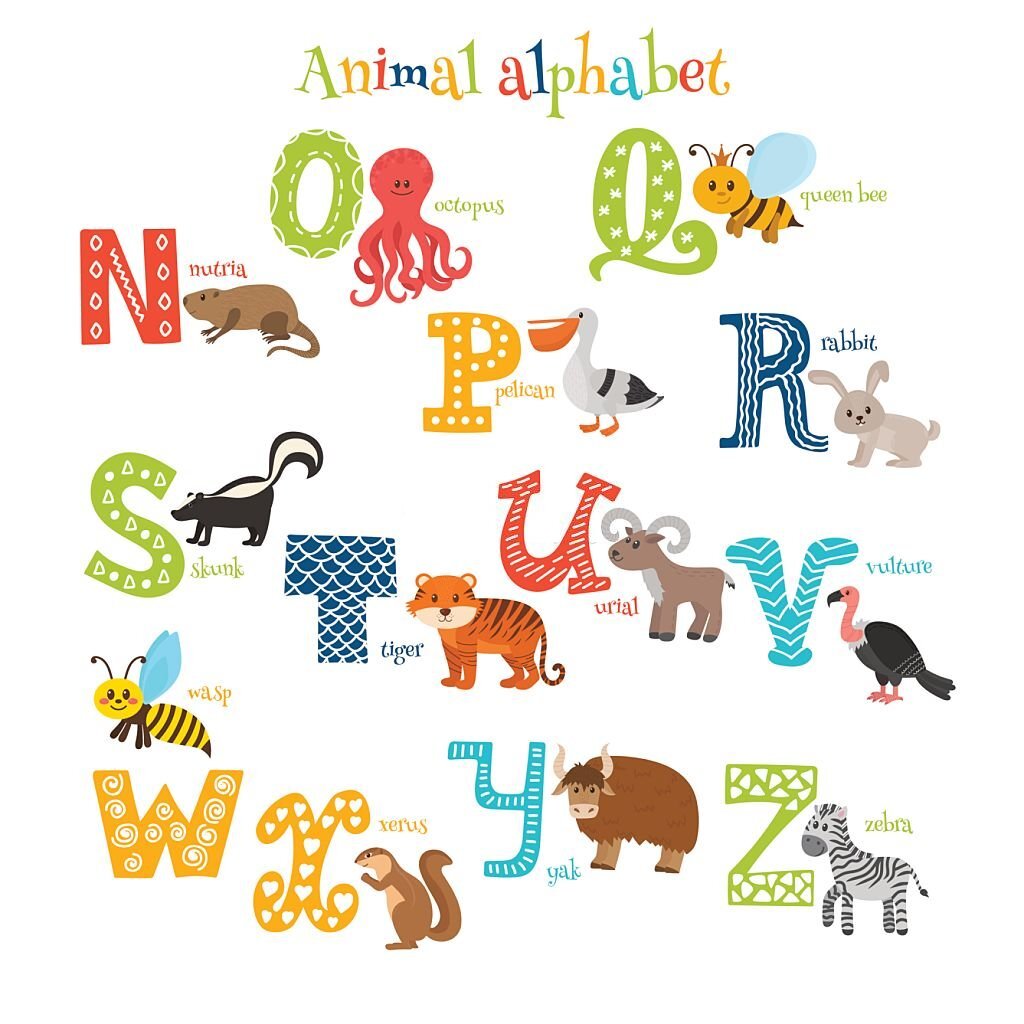
Let budding artists arrange the alphabet in a pleasing, abstract format! This is a fantastic project for children who want to learn how to make letters and identify their shapes. It’s also a good way for kids to get creative with letters and experiment with their different shape combinations.

11. Turn Letters into Animals
Letter-making activities with animals are always fun! Your child will enjoy making different animals with their favorite letters. They can make their own alphabet using the letter tiles and pattern paper. Or they can draw their own animals, stick them on the tiles, and then glue them in place. The possibilities are endless!
12. Collaborate on a Group Mobile
As the school year progresses, consider doing a group mobile project at your child’s school or home daycare. Set up a little mobile studio, where kids can create their own mobiles from found items and color them to match. You can keep these to hang throughout the year as a way for kids to express themselves and enjoy sharing and collaboration with their peers.
13. Be Big with a Self – Portrait
One of the biggest art projects you can do with kids is a self-portrait. It’s a great way to let kids explore their creative sides and express themselves. If you have enough time, the best way to make a giant self-portrait is to let each child contribute one piece of art big enough to fill in one section of the final masterpiece.
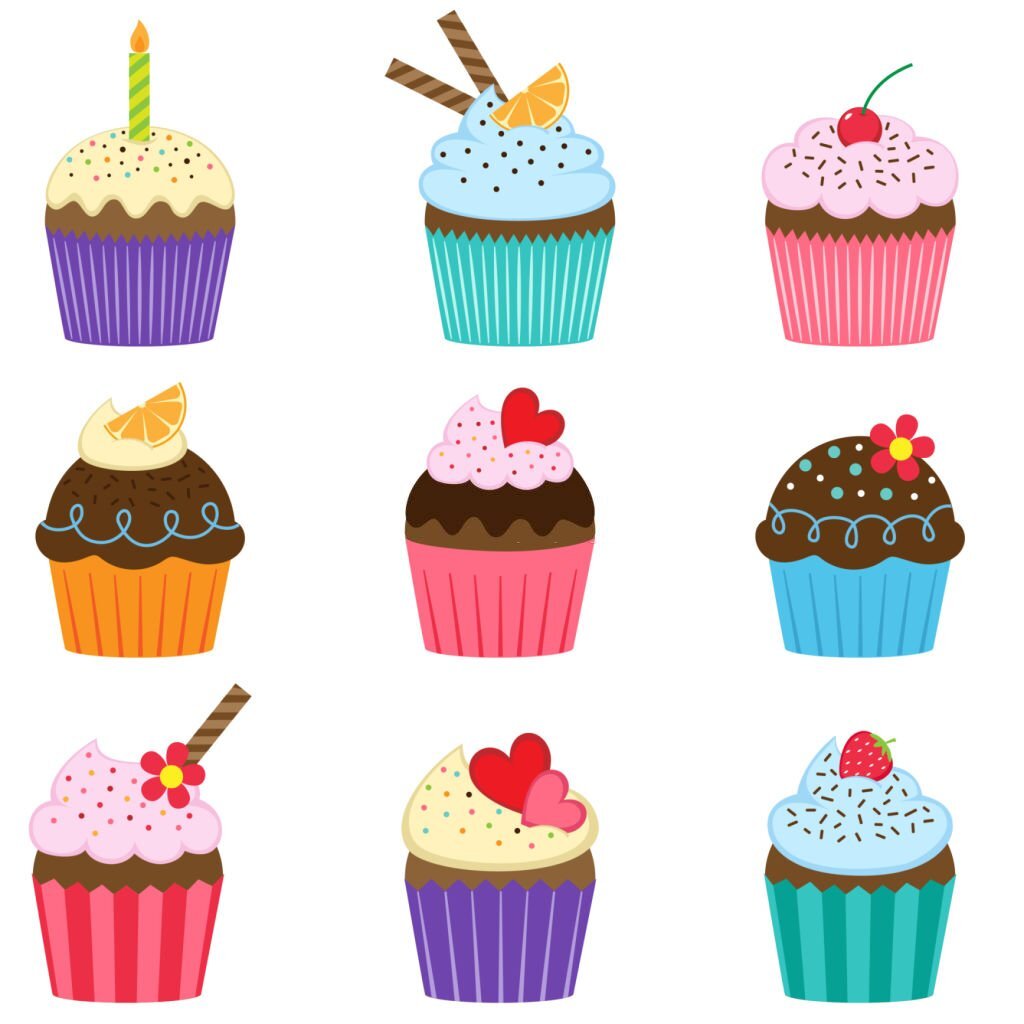
14. Frost Thiebaud – Inspired Cupcakes
One great way to plant the seed for art appreciation in kids is by letting them try their hands at copying famous artists. This can be done without making a big commitment or a big mess: all you have to do is print out the artist’s work and let your child make their version of it with frosting on cupcakes.
15. Weave Wishbone Sticks
Wishbone weaving is a wonderful way to help kids develop fine motor skills, learn colors, and get creative. You can make a simple wishbone stick by printing out a template on cardstock and letting your child fill in the colors. Or you can have them decorate their own wishbone sticks!
16. Recreate a Starry Skyscape
Sketch your way to the stars! Have your child make a drawing with star shapes, outlining them with pencil and erasing the pencil lines to create a sketch that can be colored. Once it’s colored, have them paste it on an 8½ by 11-inch piece of construction paper and then glue their drawing down to make a full-size painting.
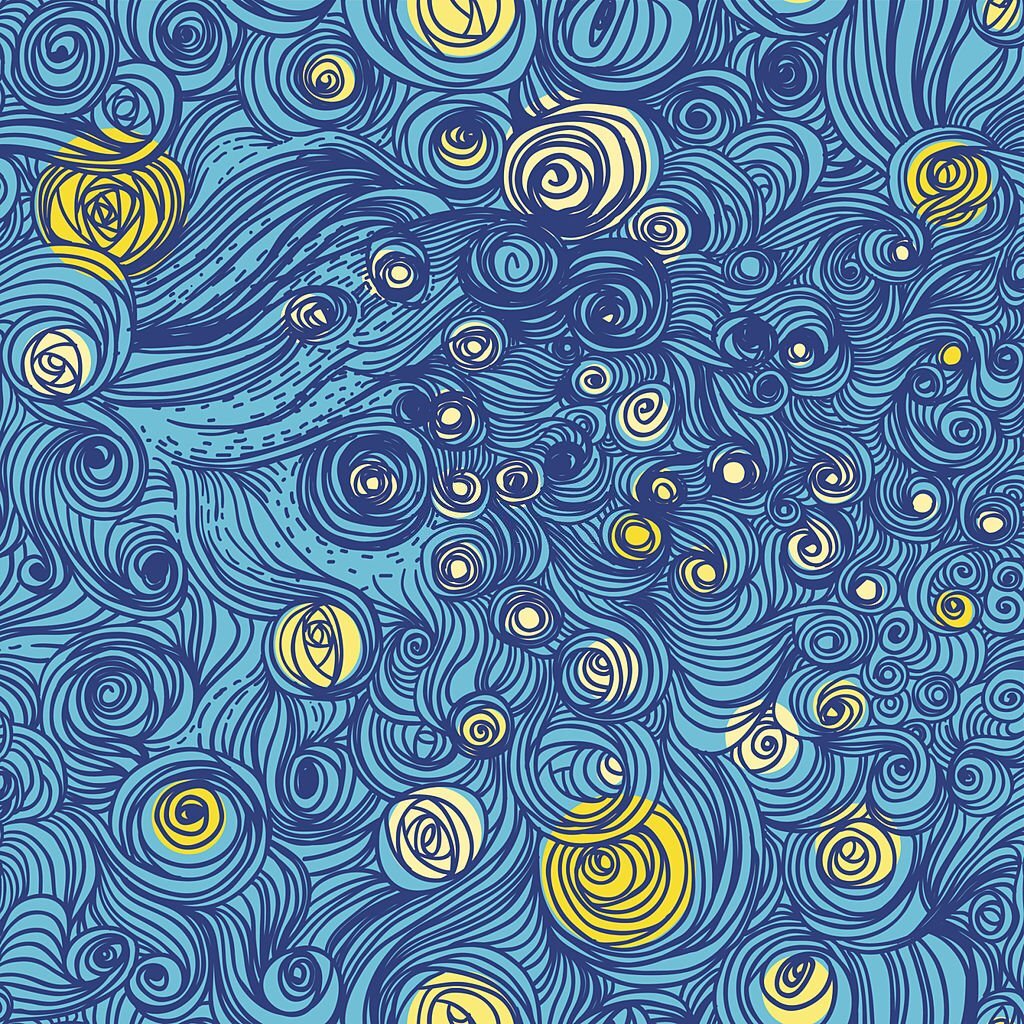
17. Copy Van Gogh’s Stars in Clay
Vincent Van Gogh is a famous artist of all time and his masterpiece “Starry Night” is a great subject for art lessons. While your child can not handle actual paint brushes, Van Gogh’s masterpieces can be recreated in clay.
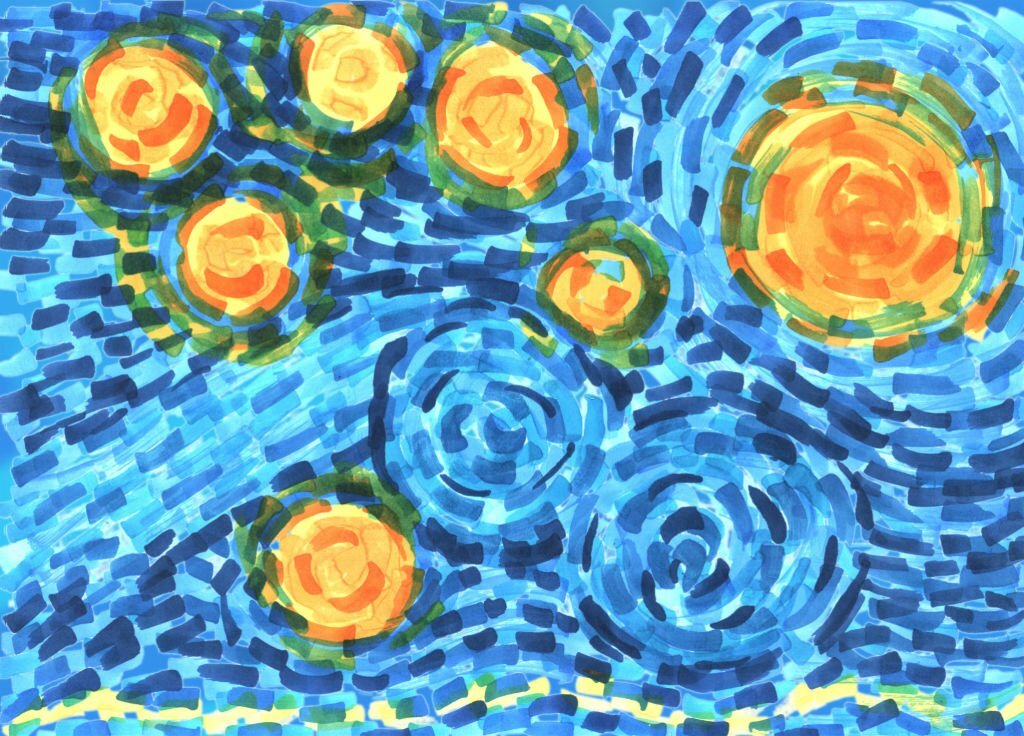
18. Make a Finger Painting with Flowers
Finger painting is a great way for kids to express themselves through art and learn about different colors and shapes. You can choose flowers as your subject of choice and then paint them with your child. This is a good way to teach kids how to get creative with art.
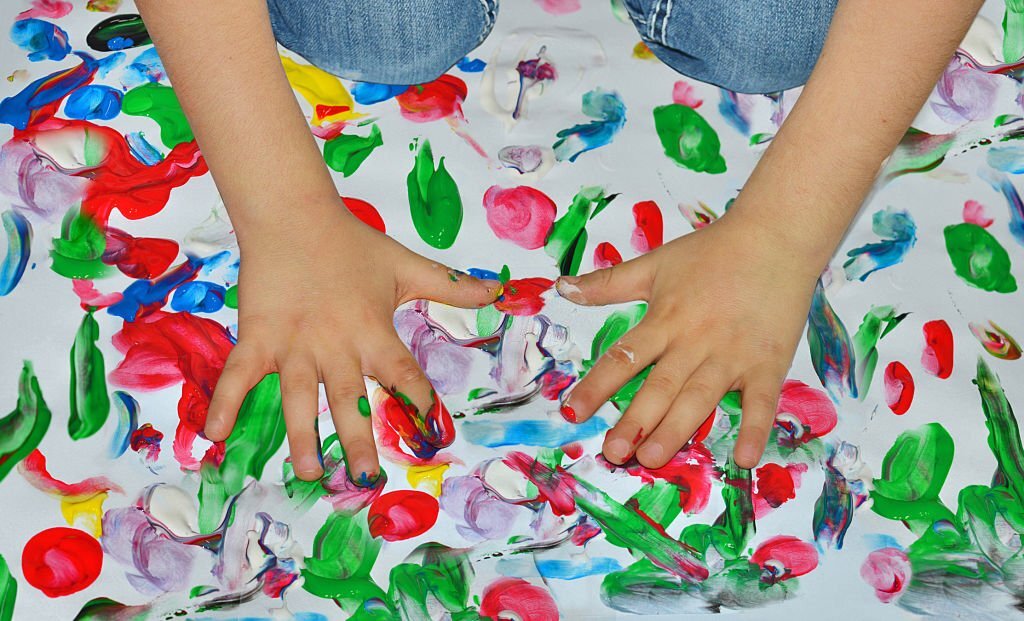
19. Add Texture to Sunflowers with Glue
Mix flour and cold water until it forms a thin liquid, then paint pieces of torn paper with the mixture. Press these on paper to create a rough texture. Cut out shapes from the sunflower template and adhere them to the background with glue.
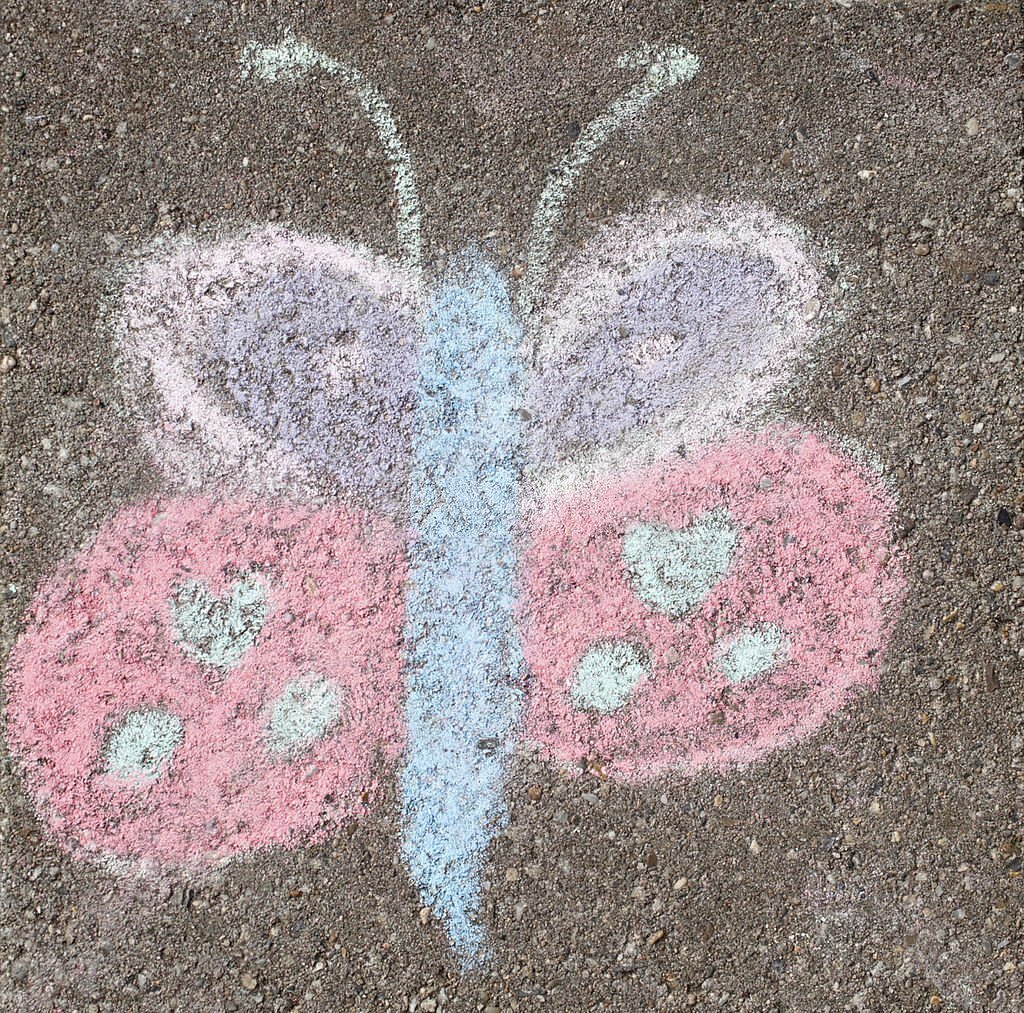
20. Chalk a Fluttering Butterfly
For works involving basic shapes, such as butterflies and sunflowers, use florist’s chalks. Lay a piece of paper over the design and sprinkle the chalks on it lightly. They will stick to the paper. Remove this piece of paper and you can use it as a template to draw in more detail.
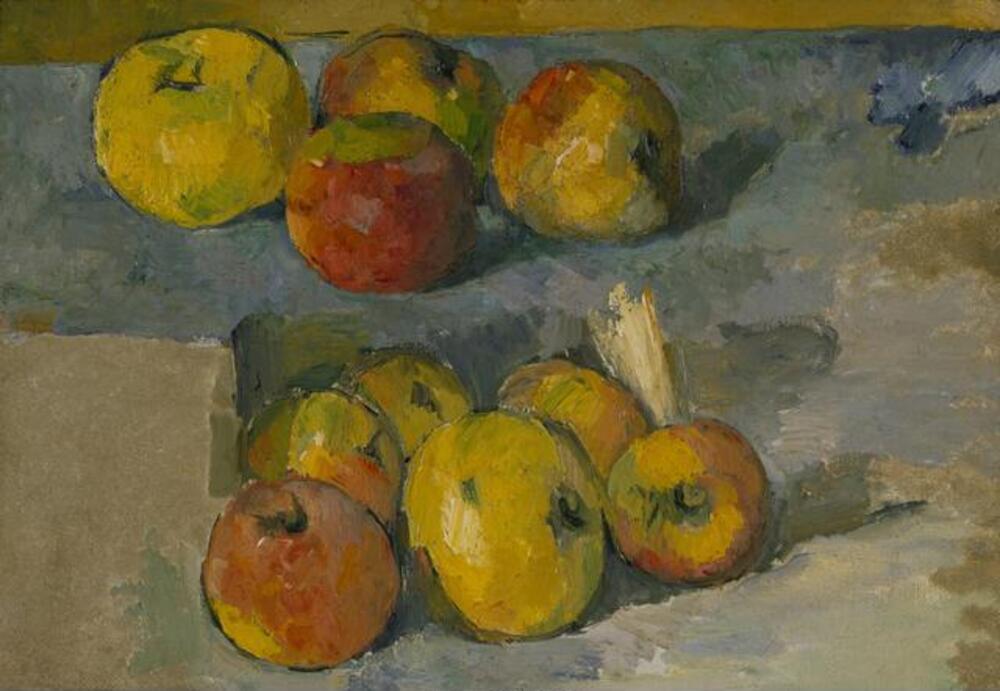
21. Paint Cezanne – Style Apples
Make a simple drawing of an apple on paper. Paint it with dark brown paint, then paint spots over the ‘apple’ in orange and yellow paints. Mix these to create different shades. Spray the whole surface of the apple with water. The water will dilute the orange and yellow paints, making them run down in rivulets like it is raining on the fruit.
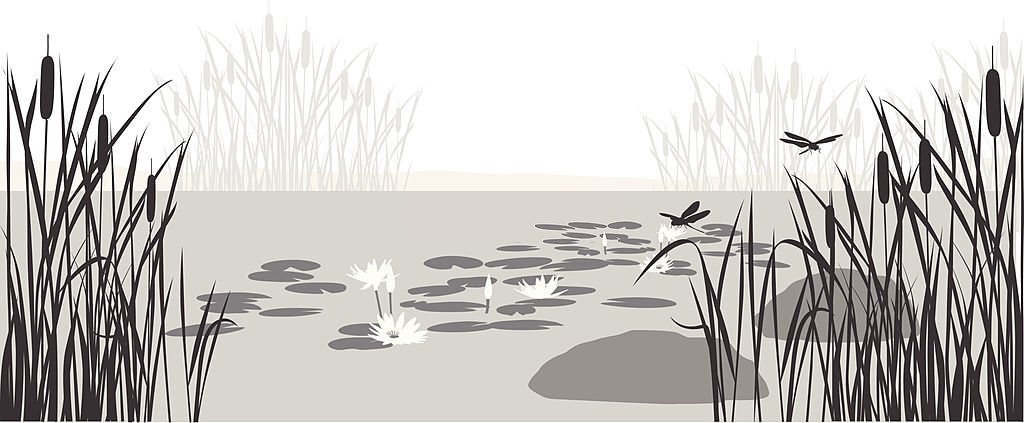
22. Hop onto Monet Lily Pads
Choose a simple design that involves water, such as a fish on a lily pad. Using dark colors, paint the background and the lily pads on the paper. Sprinkle some white powder onto the surface of the wet paint to create bubbles and ripples in the water.
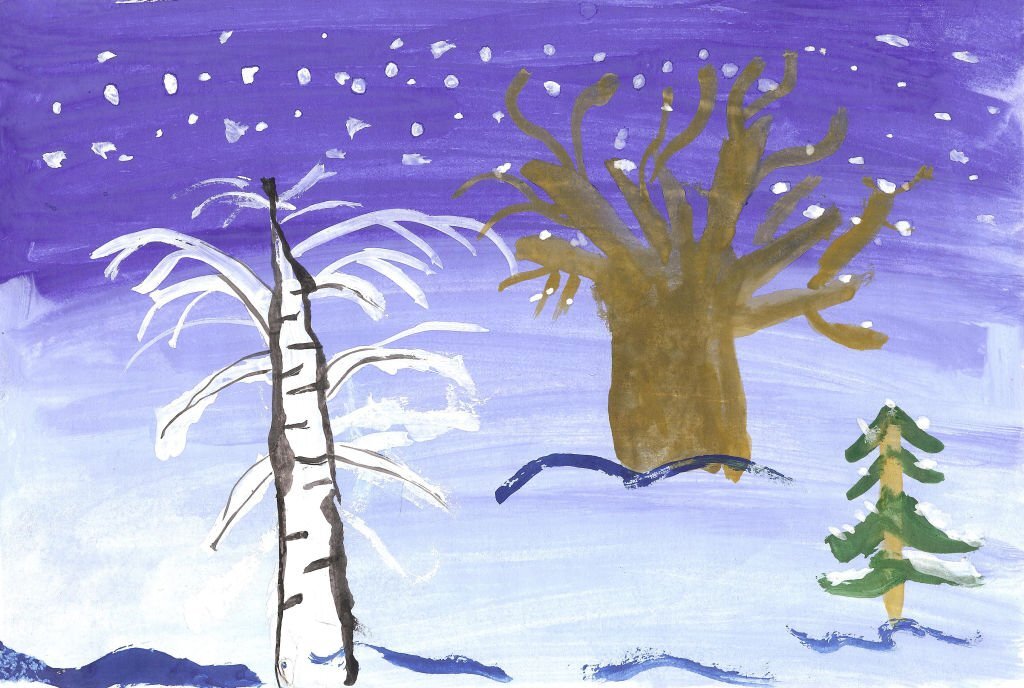
23. Color – Mix to Create Winter Landscapes
Paint a scene of a snow mountain on paper and paint as many colors onto it as you can. For example, red for the base, green for the trees and yellow for the sky. Spray the whole area with water and wait until the color dries to see if there are any irregular patches. If you do see any, go over them until they blend into the rest of the picture.
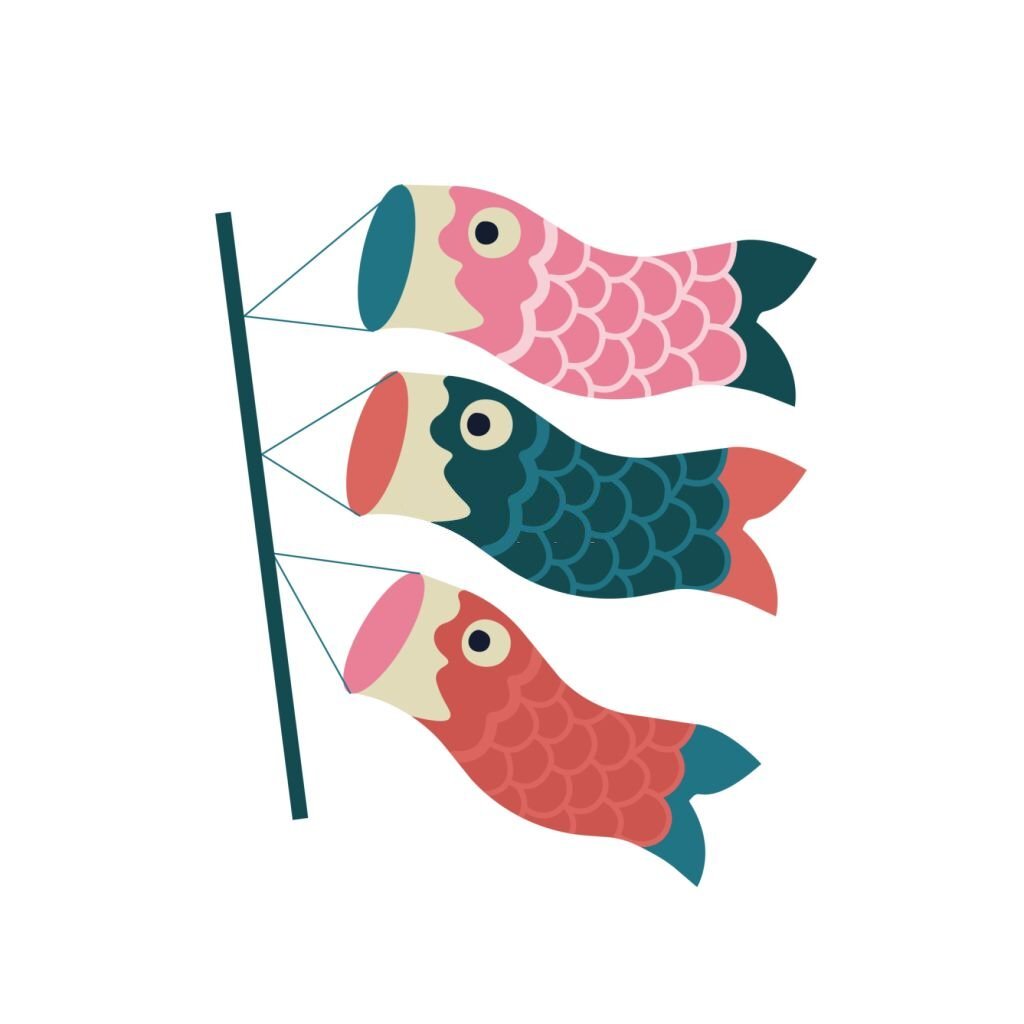
24. Fly Some Cool Koinobori Kites
Draw a kite on paper and make it as chubby as you can. Paint it with different shades of blue, then cut out the design. Decorate the kite with long stripes of red paint in a wave-like pattern. Glue the paper onto a cardboard box and cut slits along the sides – the structure will now look like an unfolded kite.
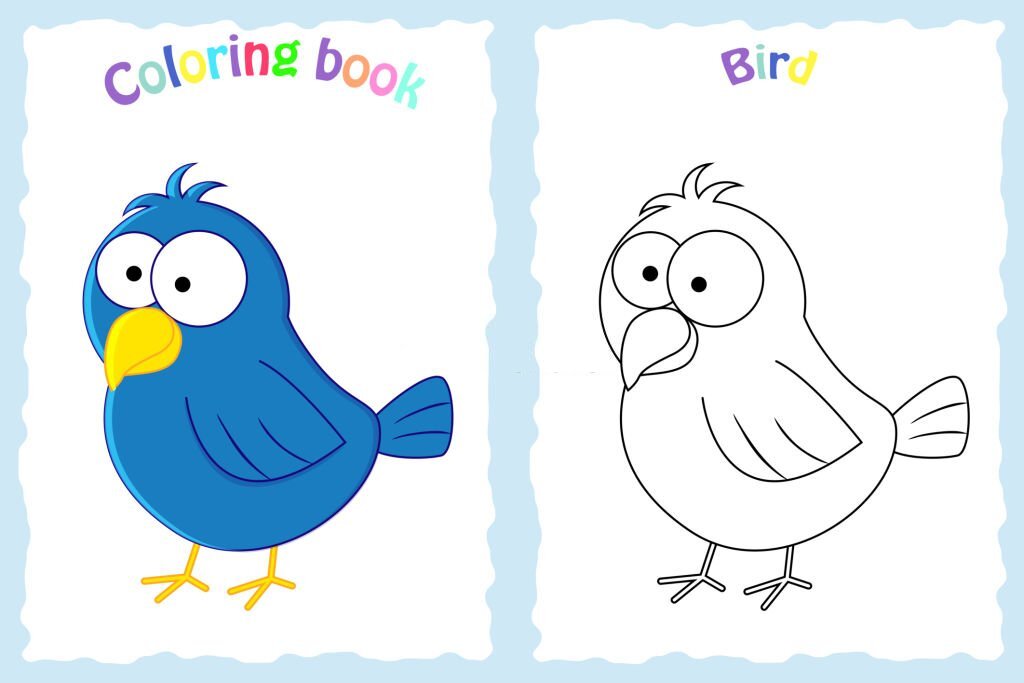
25. Give Colorful Birds a Dalí Twist
After painting, let the paper dry. Cut out another shape from a sheet of paper that looks like a bird. Place it on the main sheet and glue it down with glue. Paint extra details onto this new design, such as different colored feathers and wings, and let the paper dry again.
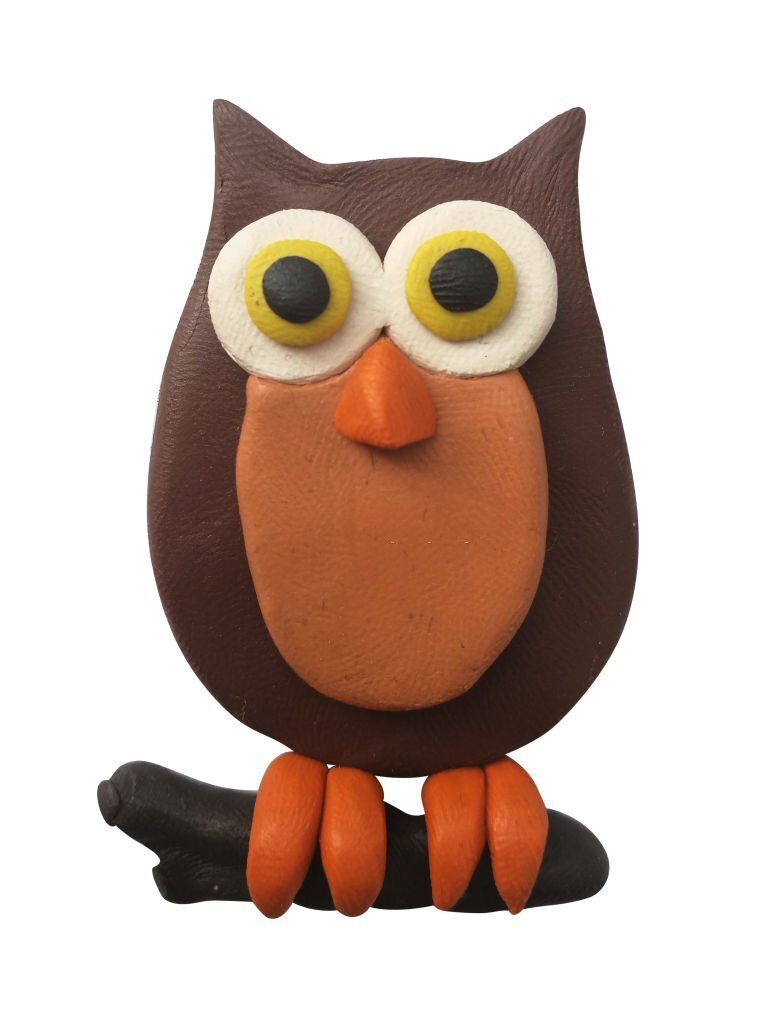
26. Sculpt the Cutest Owl Vignettes
To create vignettes with owls, use paper cutouts and paint the background with white paint. Leave some empty spaces in the cuts of these shapes. Add details to these spaces, such as eyes, beaks and feathers. Spray the whole work with water and wait for the paint to dry.
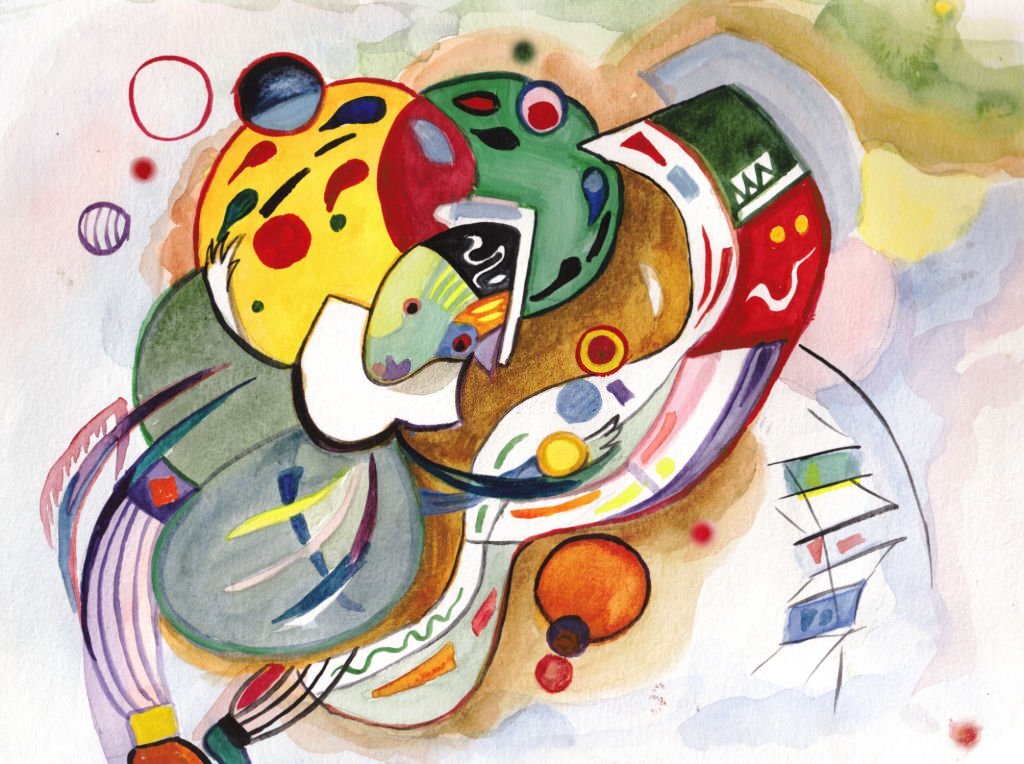
27. Doodle Like Kandinsky
Cut paper into small squares and cover the background with one color. Cover the rest of the paper with a second color and put a dot in the middle of each square. Paint each dot with a different shade of blue. Fill in any empty spaces with another color.
28. Start with a Dot
Make a dot in the middle of paper, then use a ballpoint pen to draw an outline around it. Think of the dot as the sun and draw radiating rays from it. Do not use crayons for this project; instead, use colored pencils and markers.
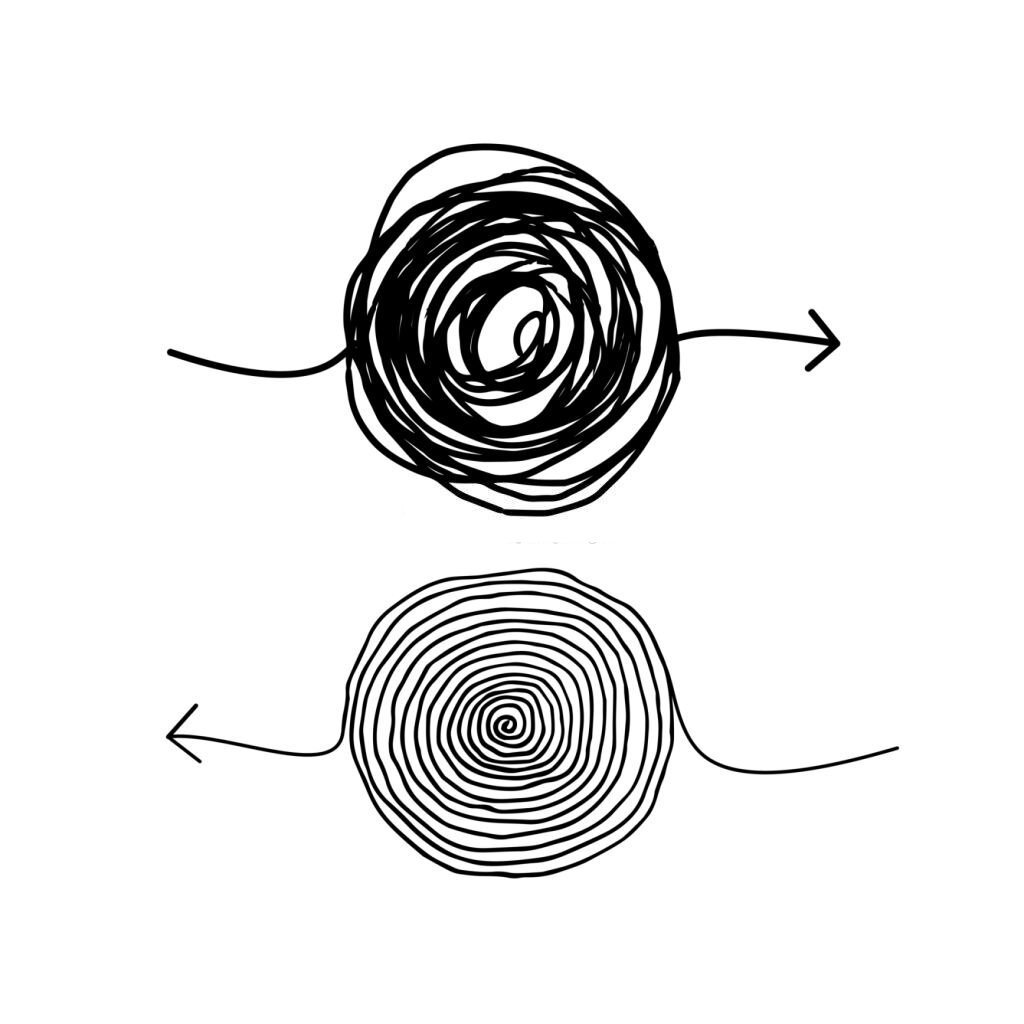
29. Scribble a Spiral
Hold a pencil in your left hand and hold a pencil in your right hand, like you are holding a basketball. Draw spirals sideways from the center of the page, using light and dark pencils. Try to make your spirals look natural by using one light pencil and one dark pencil or two different shades of the same color.
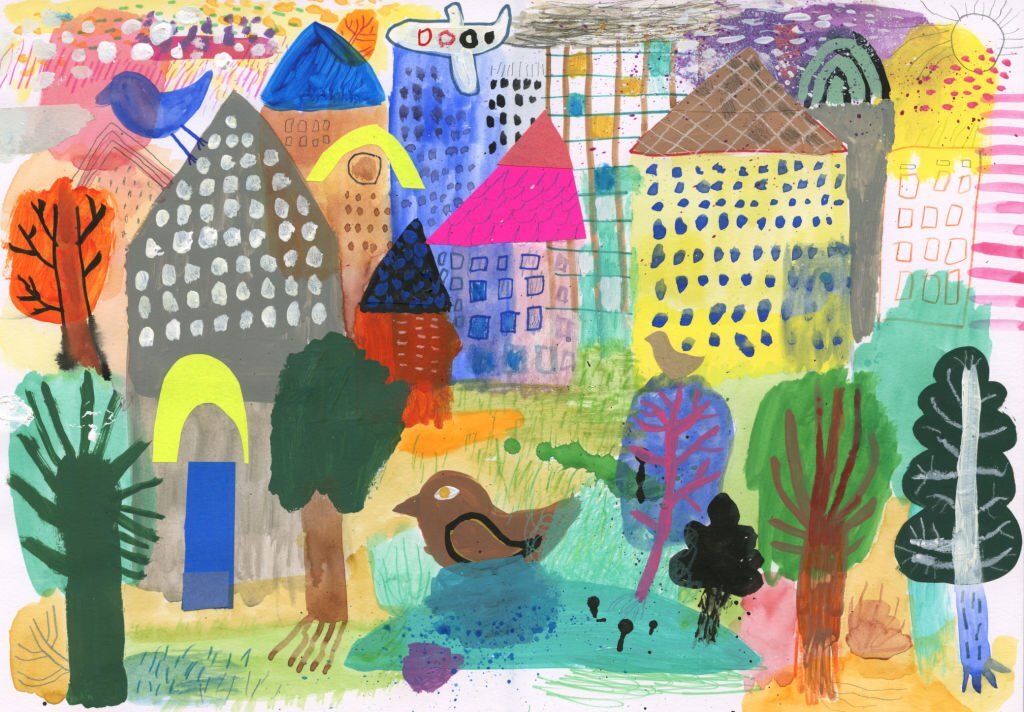
30. Use Shapes to Create Klee – Inspired Villages
Draw the outline of some buildings on paper. Put a small shape at the bottom of each one, such as a flower or a tree. Put another shape inside each building and use thicker lines to connect them together. Draw trees inside these shapes, then paint them in different shades of green and add other details as you wish.
31. Blend Colors Using Coffee Filters
Cut coffee filters in half, then place them on a sheet of paper. Place some paint or water into each one, let it drip through the filter and use this water to blend with other paints. Mix two colors of paint together and paint the background on paper. Sprinkle coffee filters over the whole surface. Wait for the paint dry and then cut out some shapes from a piece of paper. Decorate these shapes by painting them with different shades of blue, yellow, red and brown.
32. Compose a Color Wheel Bouquet
Draw one flower with 6 petals on a piece of paper. Paint it with different shades of pink, purple and blue. Cut out a second flower that is similar in size to the first one, but make it yellow or green instead of blue. Put flowers on top of each other to create petals at different angles.
33. Float away with Mixed – Media Collages
To create a mixed-media collage, use paper, metal foil, wire and beads. For example, cover metal foil with paper. Using scissors and glue, cut out shapes from the metal foil to make them look like trees. Add scraps of paper or beads to these structures as you wish.
34. Build Baskets with Yarn and Glue
Choose a basket that you can build so that it is balanced. Use colored yarn and glue to make a basket in the same shape. Use different colors of yarn to make this basket stand out. Cut slits in the sides of the basket and fix them with glue.
35. Paint Like Pollock
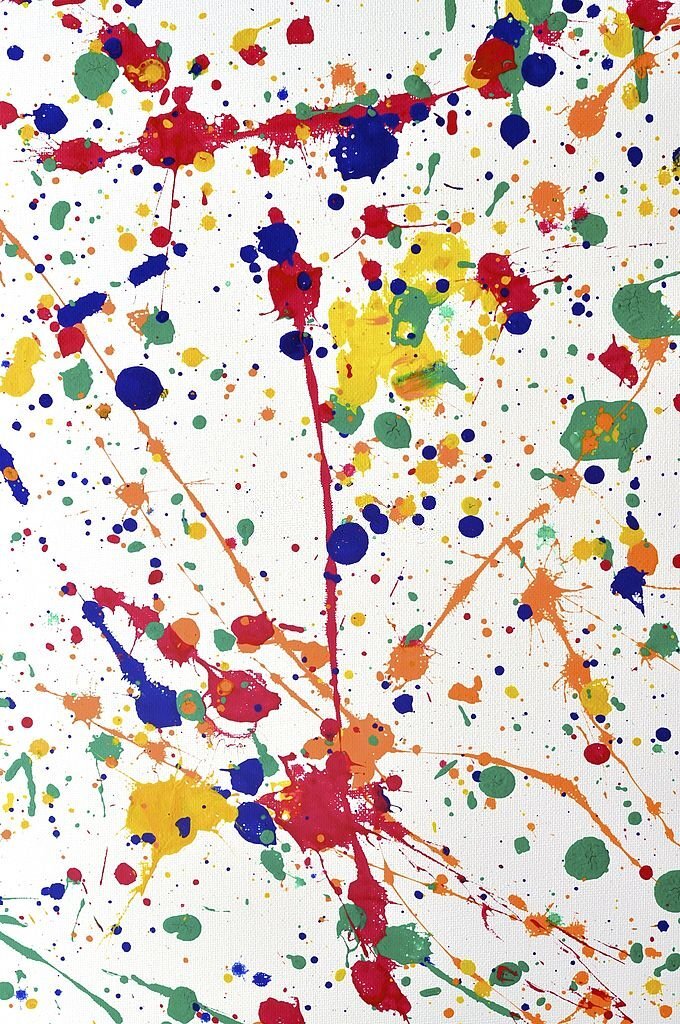
Use a stick to paint the bottom part of a page, then cover the rest with paint. Scatter some dried beans over the surface and drip lines of white paint on top, using a brush. Before drying, use your finger to make lines in the white paint. After drying, remove the beans from the paper.
